In this guide, we will install WHM/cPanel on AlmaLinux 8.10 step by step using simple commands.
Requirements
Before starting, make sure you have:
- A VPS or Dedicated Server with AlmaLinux 8.10
- Root access to the server
- A public IPv4 address
- A valid hostname, for example
srv.yourdomain.com - A cPanel license
- A clean server without another hosting control panel installed
It is also recommended to point your hostname’s A record to the server IP before installing cPanel.
Step 1: Connect to Your Server Using SSH
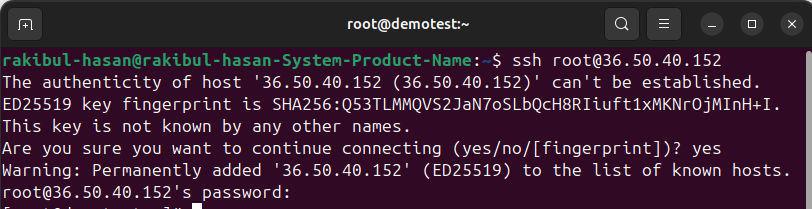
First, open Terminal on your computer and connect to the server using SSH.
ssh root@YOUR_SERVER_IPExample:
ssh root@36.50.40.152When connecting for the first time, you may see:
Are you sure you want to continue connecting (yes/no/[fingerprint])?Type:
yesThen enter your server’s root password.
After successful login, you will be connected to your AlmaLinux server.
Step 2: Update the Server
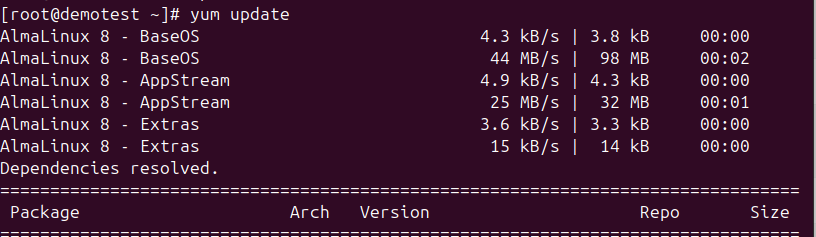
Before installing cPanel, update all existing packages.
Run:
yum updateThe server may ask:
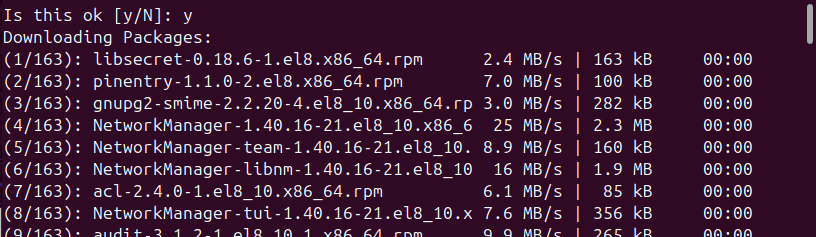
Is this ok [y/N]:Type:
yand press Enter.
The server will download and install the available updates.
You can also automatically accept the confirmation by running:
yum update -yWait until the update process finishes.
Step 3: Upgrade Installed Packages
After updating the package information, run:
yum upgradeOr:
yum upgrade -yThis ensures that the installed system packages are upgraded to the latest available versions.
If everything is already updated, you may see:
Nothing to do.
Complete!
That is completely normal.

Step 4: Set the Server Hostname
cPanel requires a valid Fully Qualified Domain Name (FQDN) as the server hostname.
For example:
srv.clouds-manager.comSet the hostname using:
hostnamectl set-hostname srv.clouds-manager.comYou can also use:
sudo hostnamectl set-hostname srv.clouds-manager.comThen verify the hostname:
hostnameYou should see:
srv.clouds-manager.comYou can also check it with:
hostnamectlImportant
Make sure an A record exists for your hostname.
Example:
srv.clouds-manager.com → YOUR_SERVER_IPThis should be configured from your domain’s DNS management panel.
Step 5: Download and Install cPanel/WHM
Now go to the /home directory:
cd /homeThen download and run the official cPanel installer:
curl -o latest -L https://securedownloads.cpanel.net/latest && sh latestThe installation will now begin.
cPanel will automatically install all required packages and services.
This process can take some time depending on your server specifications and internet connection.
cd /home && curl -o latest -L https://securedownloads.cpanel.net/latest && sh latest
Step 6: Open WHM in Your Browser
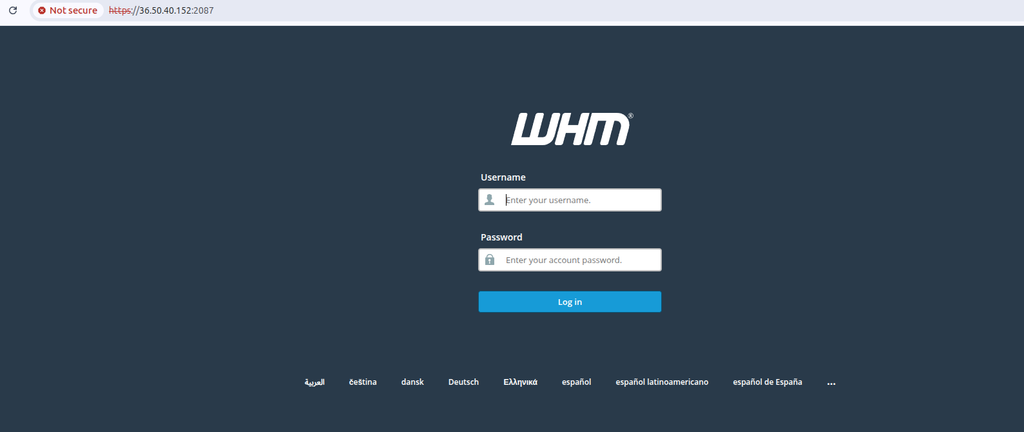
After the installation is complete, open WHM using port 2087.
You can use your server IP:
https://YOUR_SERVER_IP:2087Example:
https://36.50.40.152:2087Or, if your hostname is already configured correctly:
https://srv.clouds-manager.com:2087Your browser may initially show a security warning if the SSL certificate has not yet been fully configured.
Open the page and you should see the WHM Login screen.
Login using:
Username:
rootPassword: Your server’s root password.
Step 7: Accept the cPanel Legal Documents
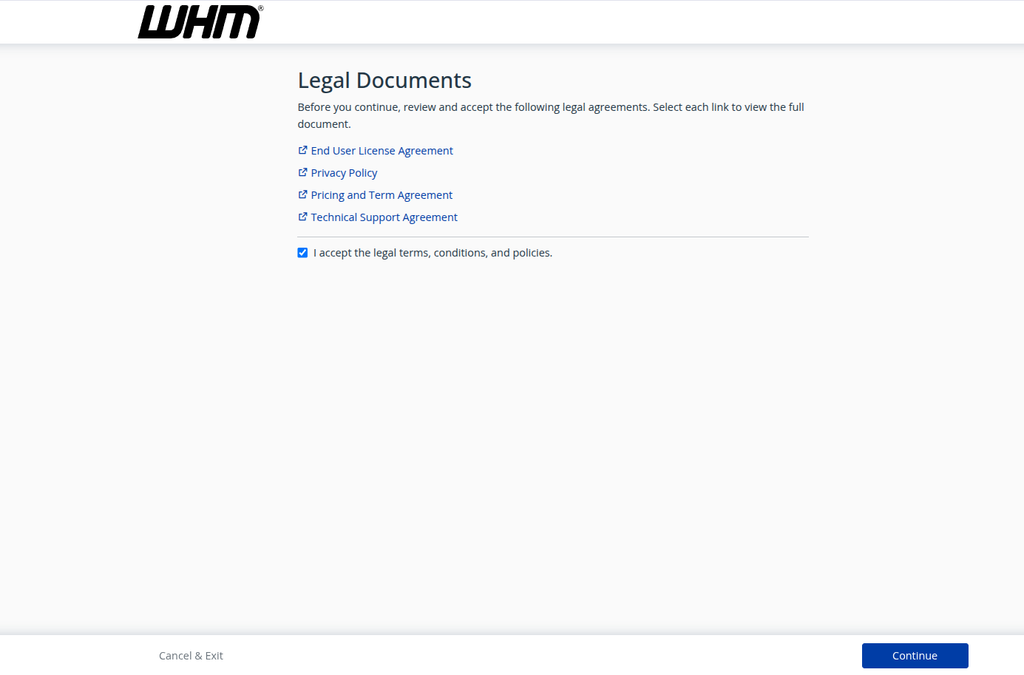
After logging into WHM for the first time, cPanel will show its Legal Documents page.
You will see documents such as:
- End User License Agreement
- Privacy Policy
- Pricing and Term Agreement
- Technical Support Agreement
Read the documents and check:
I accept the legal terms, conditions, and policies.Then click:
Continue
Step 8: Activate Your cPanel License
cPanel requires an active license to use WHM/cPanel.
If your server IP already has an active cPanel license, WHM should detect and activate it automatically.
If you do not have a license yet, you can purchase one directly from the official cPanel website. However, direct retail pricing from cPanel is generally higher.
Hexazn is an official cPanel NOC Partner, so you can also purchase your cPanel license through Hexazn, often at a more affordable price compared to the standard direct retail price.
Once the license has been activated for your server IP, refresh or log in to WHM again. After WHM successfully detects the license, you can continue with the initial server configuration and setup.