
Step 1: Connect to Your Server Using SSH
First, connect to your CentOS VPS or server as the root user.
Open Terminal and run:
ssh root@YOUR_SERVER_IPFor example:
ssh root@36.50.40.150The first time you connect, SSH may ask:
Are you sure you want to continue connecting (yes/no)?Type:
yesThen enter your root password.
After successful login, you should see something similar to:
[root@server ~]#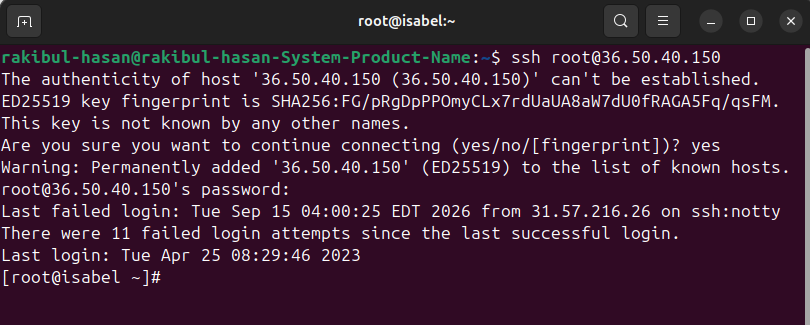
Step 2: Configure the CentOS 7 Vault Repository
Because CentOS 7 is no longer actively supported, its normal mirror repositories may not work. We need to switch them to the CentOS Vault repository.
Run:
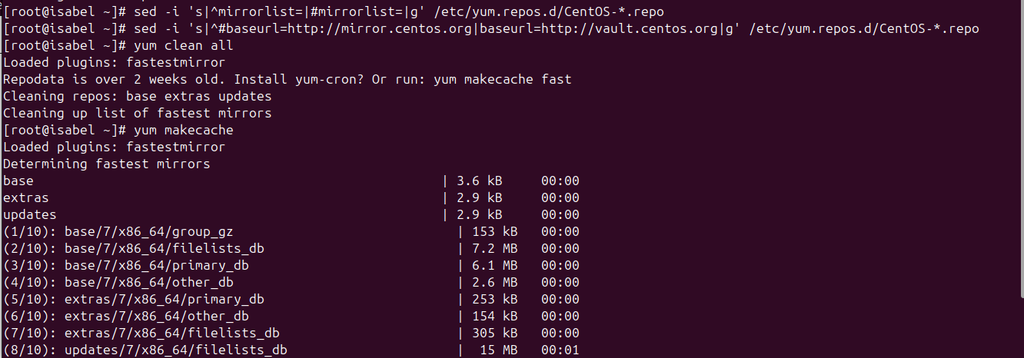
sed -i 's/^mirrorlist=/#mirrorlist=/g' /etc/yum.repos.d/CentOS-*.repoThen run:
sed -i 's|^#baseurl=http://mirror.centos.org|baseurl=http://vault.centos.org|g' /etc/yum.repos.d/CentOS-*.repoNow clear the existing YUM cache:
yum clean allRebuild the repository cache:
yum makecacheWait until the process finishes.
Step 3: Update the Server
Before installing Issabel, update all installed packages.
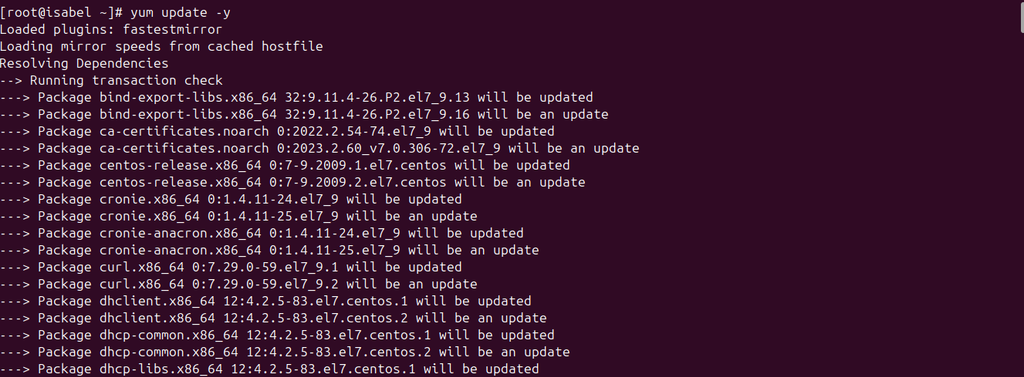
Run:
yum update -yThis process can take several minutes depending on your server and internet connection.
Wait until the update is completely finished.
Step 4: Install Required Packages
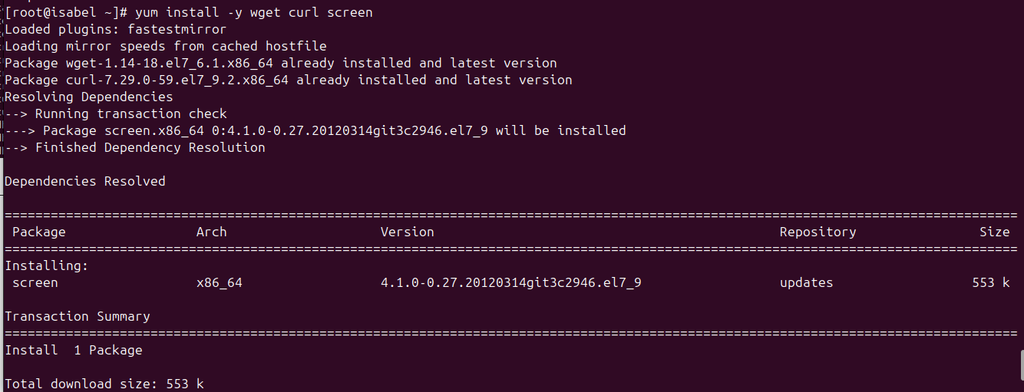
Install some basic utilities required during the Issabel installation.
Run:
yum install -y wget curl screenWait until the packages are installed successfully.
Step 5: Download and Start the Issabel 4 Installer
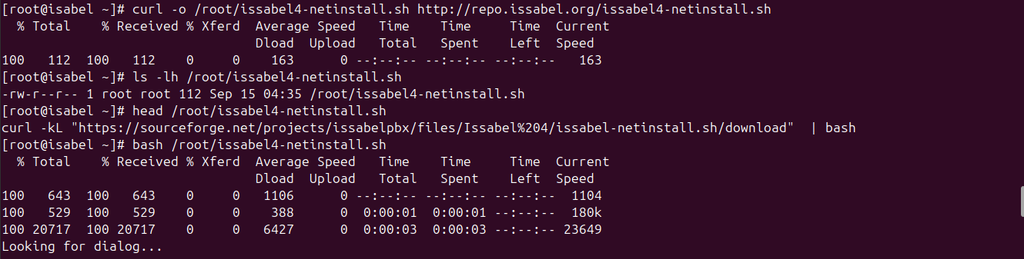
Download the Issabel 4 network installation script.
A convenient method is:
curl -kL "https://sourceforge.net/projects/issabelpbx/files/Issabel%204/issabel-netinstall.sh/download" -o /root/issabel4-netinstall.shMake the installer executable:
chmod +x /root/issabel4-netinstall.shThen start it:
bash /root/issabel4-netinstall.shThe Issabel installation interface will now appear.
Step 6: Select Asterisk Version
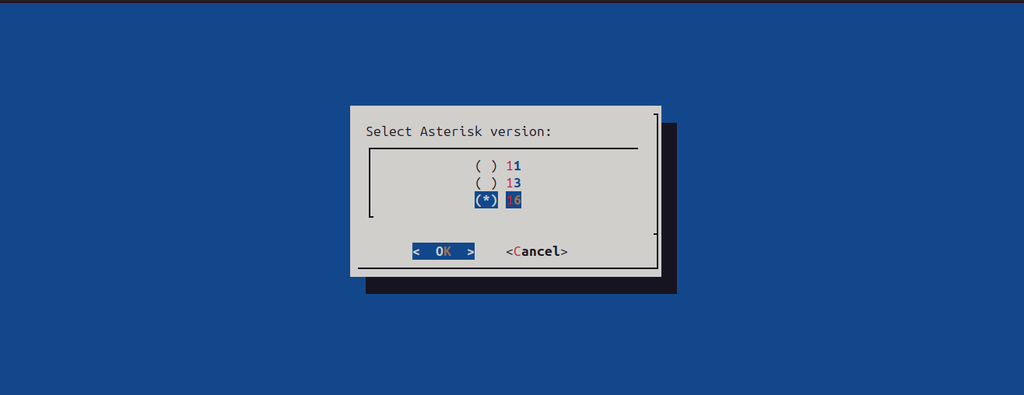
The installer will ask:
Select Asterisk version:You may see options such as:
11
13
16
Select:
16Use the Up/Down Arrow keys to move between options.
Use the Spacebar if you need to select an option, then use Tab to move to OK.
Press:
Enterto continue.
Step 7: Choose Additional Packages
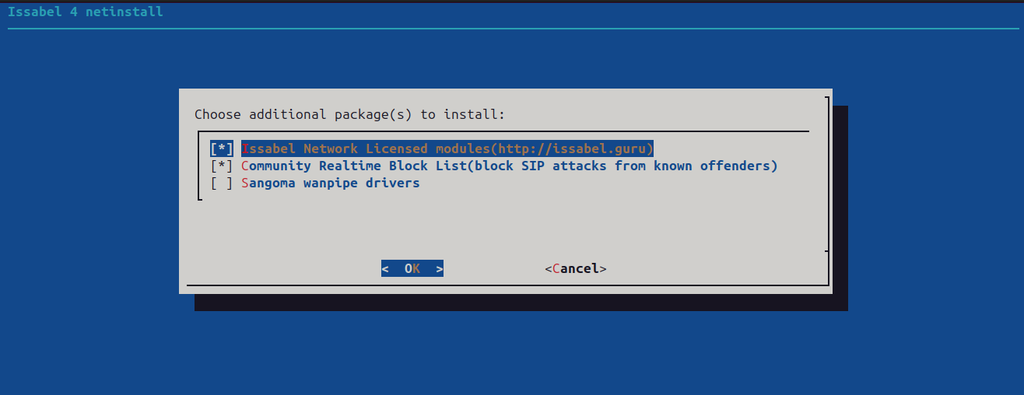
The installer may show additional packages such as:
Issabel Network Licensed modules
Community Realtime Block List
Sangoma wanpipe drivers
You can keep the default recommended selections.
For a normal installation, the first two options can remain selected.
Sangoma wanpipe drivers is generally only necessary when you are using compatible Sangoma telephony hardware.
Use:
↑ / ↓to navigateSpaceto select or deselectTabto move toOKEnterto continue
Step 8: Disable the Beta Repository
You may see:
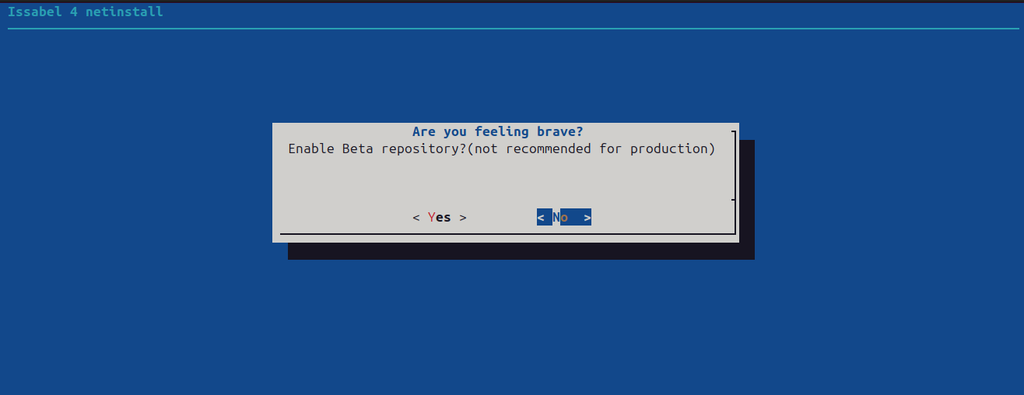
Are you feeling brave?
Enable Beta repository?
(not recommended for production)
For a normal or production installation, select:
NoBeta repositories may contain experimental packages, so they are not recommended for production systems.
Step 9: Wait for Issabel to Install
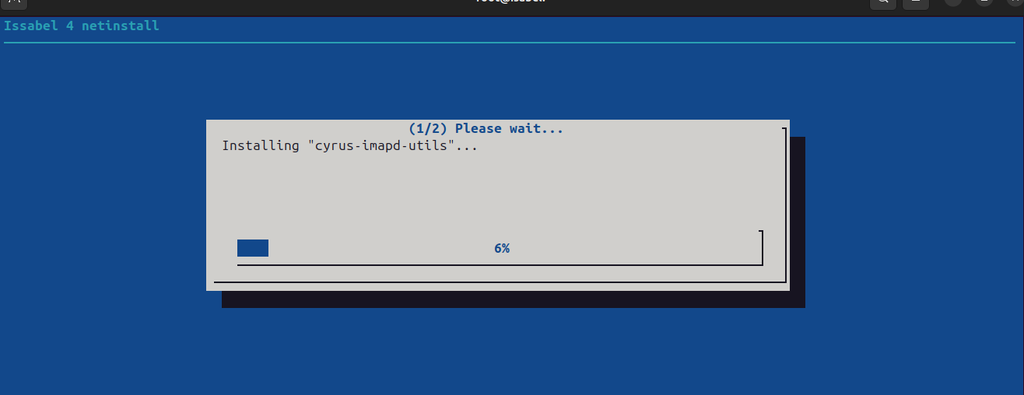
Issabel will now start downloading and installing all required packages.
You may see messages such as:
Please wait...
Installing...
The installation can take some time.
Do not close the SSH window or restart the server during this process.
Wait until the installer moves to the next configuration screen.
Step 10: Set the MariaDB Root Password
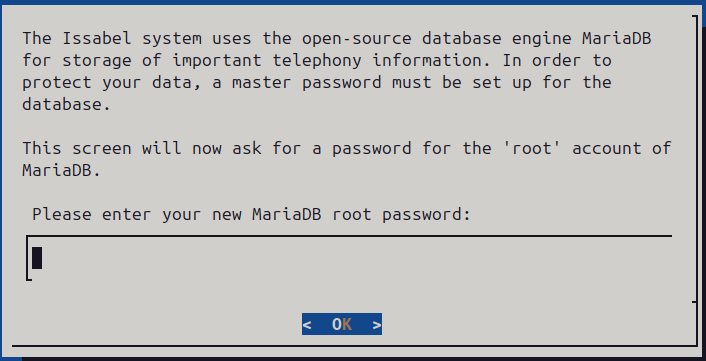
Issabel uses MariaDB for database storage.
You will see:
Please enter your new MariaDB root password:Enter a strong password.
For example, use a combination of:
Uppercase letters
Lowercase letters
Numbers
Special characters
The password will not normally appear on the screen while you type it.
Press Enter or select OK.
Step 11: Confirm the MariaDB Password
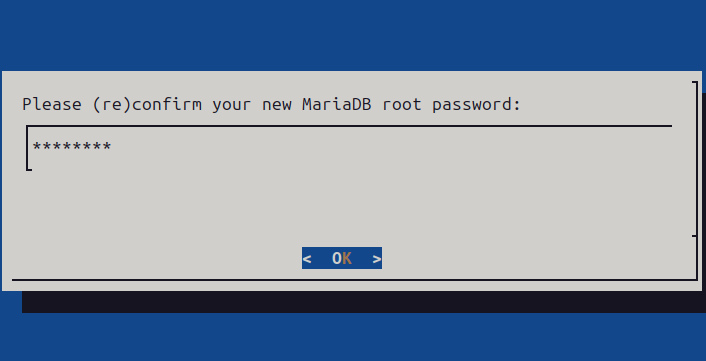
The installer will ask you to enter the MariaDB password again.
Please (re)confirm your new MariaDB root password:Enter exactly the same password and continue.
Keep this password somewhere secure. It is the MariaDB administrator password.
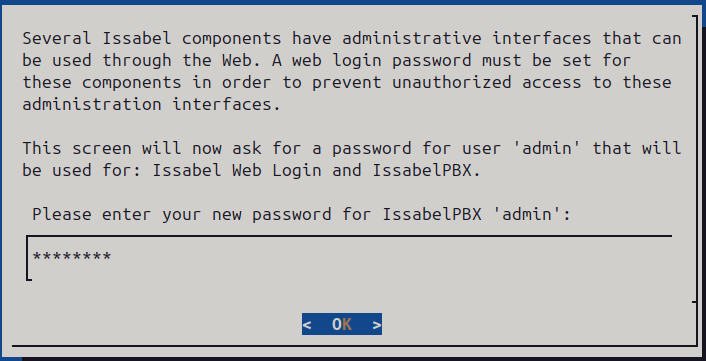
Step 12: Create the Issabel Admin Password
Next, create the password that will be used to log in to the Issabel Web Interface.
You will see something similar to:
Please enter your new password for IssabelPBX 'admin':Enter a strong admin password.
This password is different from your SSH root password and can also be different from the MariaDB root password.
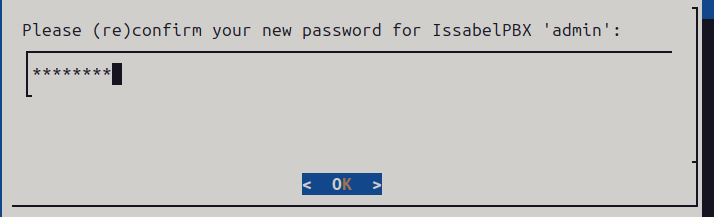
Step 13: Confirm the Issabel Admin Password
Enter the same Issabel admin password again when asked:
Please (re)confirm your new password for IssabelPBX 'admin':Select OK and continue.
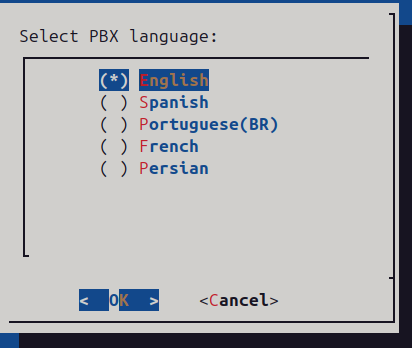
Step 14: Select the PBX Language
The installer will ask:
Select PBX language:Available options may include:
English
Spanish
Portuguese(BR)
French
Persian
For this guide, select:
EnglishThen select OK.
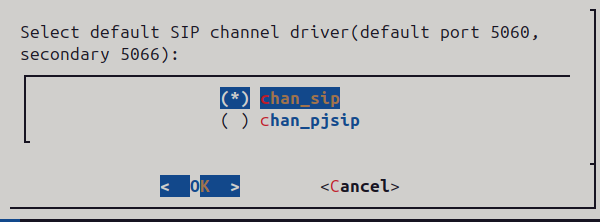
Step 15: Select the SIP Channel Driver
Next, you may see:
Select default SIP channel driver
(default port 5060, secondary 5066)
Options may include:
chan_sip
chan_pjsip
To follow this installation setup, select:
chan_sipand press OK.
If your VoIP deployment specifically requires PJSIP, you can select chan_pjsip instead.
Step 16: Complete the Installer
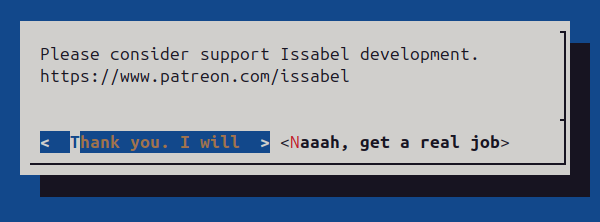
Near the end, Issabel may display a support or donation message.
Simply choose the option that allows you to continue, such as:
Thank you, I willThe installation will then complete.
Allow the server a little time to finish starting all Issabel and Asterisk services.
Step 17: Open the Issabel Web Interface
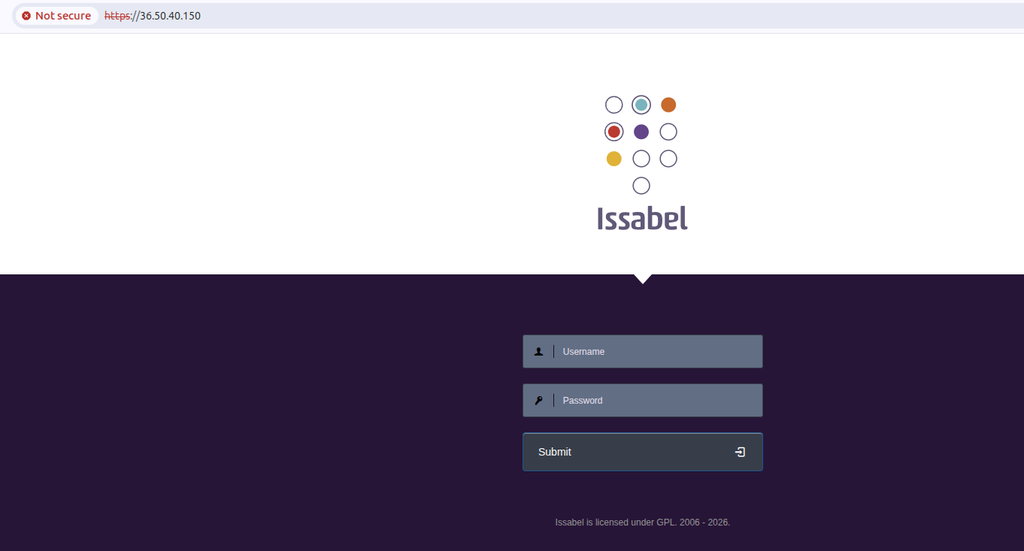
Open a web browser on your computer and enter:
https://YOUR_SERVER_IPFor example:
https://36.50.40.150Because the server may initially use a self-signed SSL certificate, your browser might show a security warning.
You can proceed to the site if you know you are connecting to your own Issabel server.
You should now see the Issabel Login Page.
Step 18: Log In to Issabel
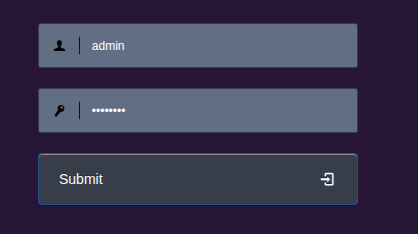
Use:
Username: admin
Password: YOUR_ISSABEL_ADMIN_PASSWORD
Use the password you created during Step 12.
Click Submit.
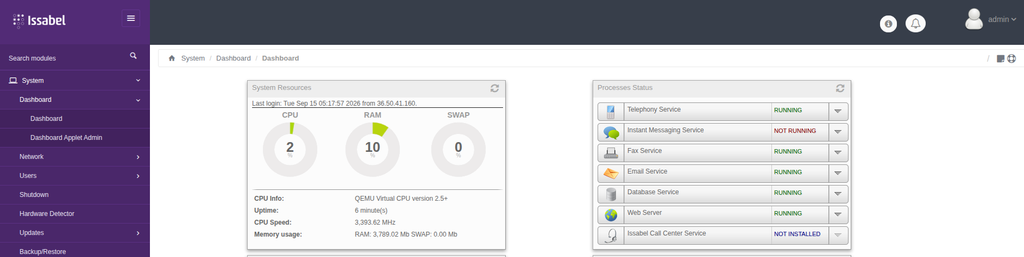
After successful login, the Issabel dashboard will appear.
Step 19: Verify the Installation
Once logged in, check the dashboard and make sure important services are running.
You should now have:
Issabel 4
Asterisk 16
MariaDB
PBX Management
Web Administration
Your basic Issabel installation is complete.
Quick Command Summary
For convenience, the main server-side commands are:
sed -i 's/^mirrorlist=/#mirrorlist=/g' /etc/yum.repos.d/CentOS-*.repo

sed -i 's|^#baseurl=http://mirror.centos.org|baseurl=http://vault.centos.org|g' /etc/yum.repos.d/CentOS-*.repo

yum clean all

yum makecache

yum update -y

yum install -y wget curl screen

curl -kL "https://sourceforge.net/projects/issabelpbx/files/Issabel%204/issabel-netinstall.sh/download" -o /root/issabel4-netinstall.sh

chmod +x /root/issabel4-netinstall.sh

bash /root/issabel4-netinstall.sh
